OK so I got bitten by the bug and wrapped up in the excitement months ago…
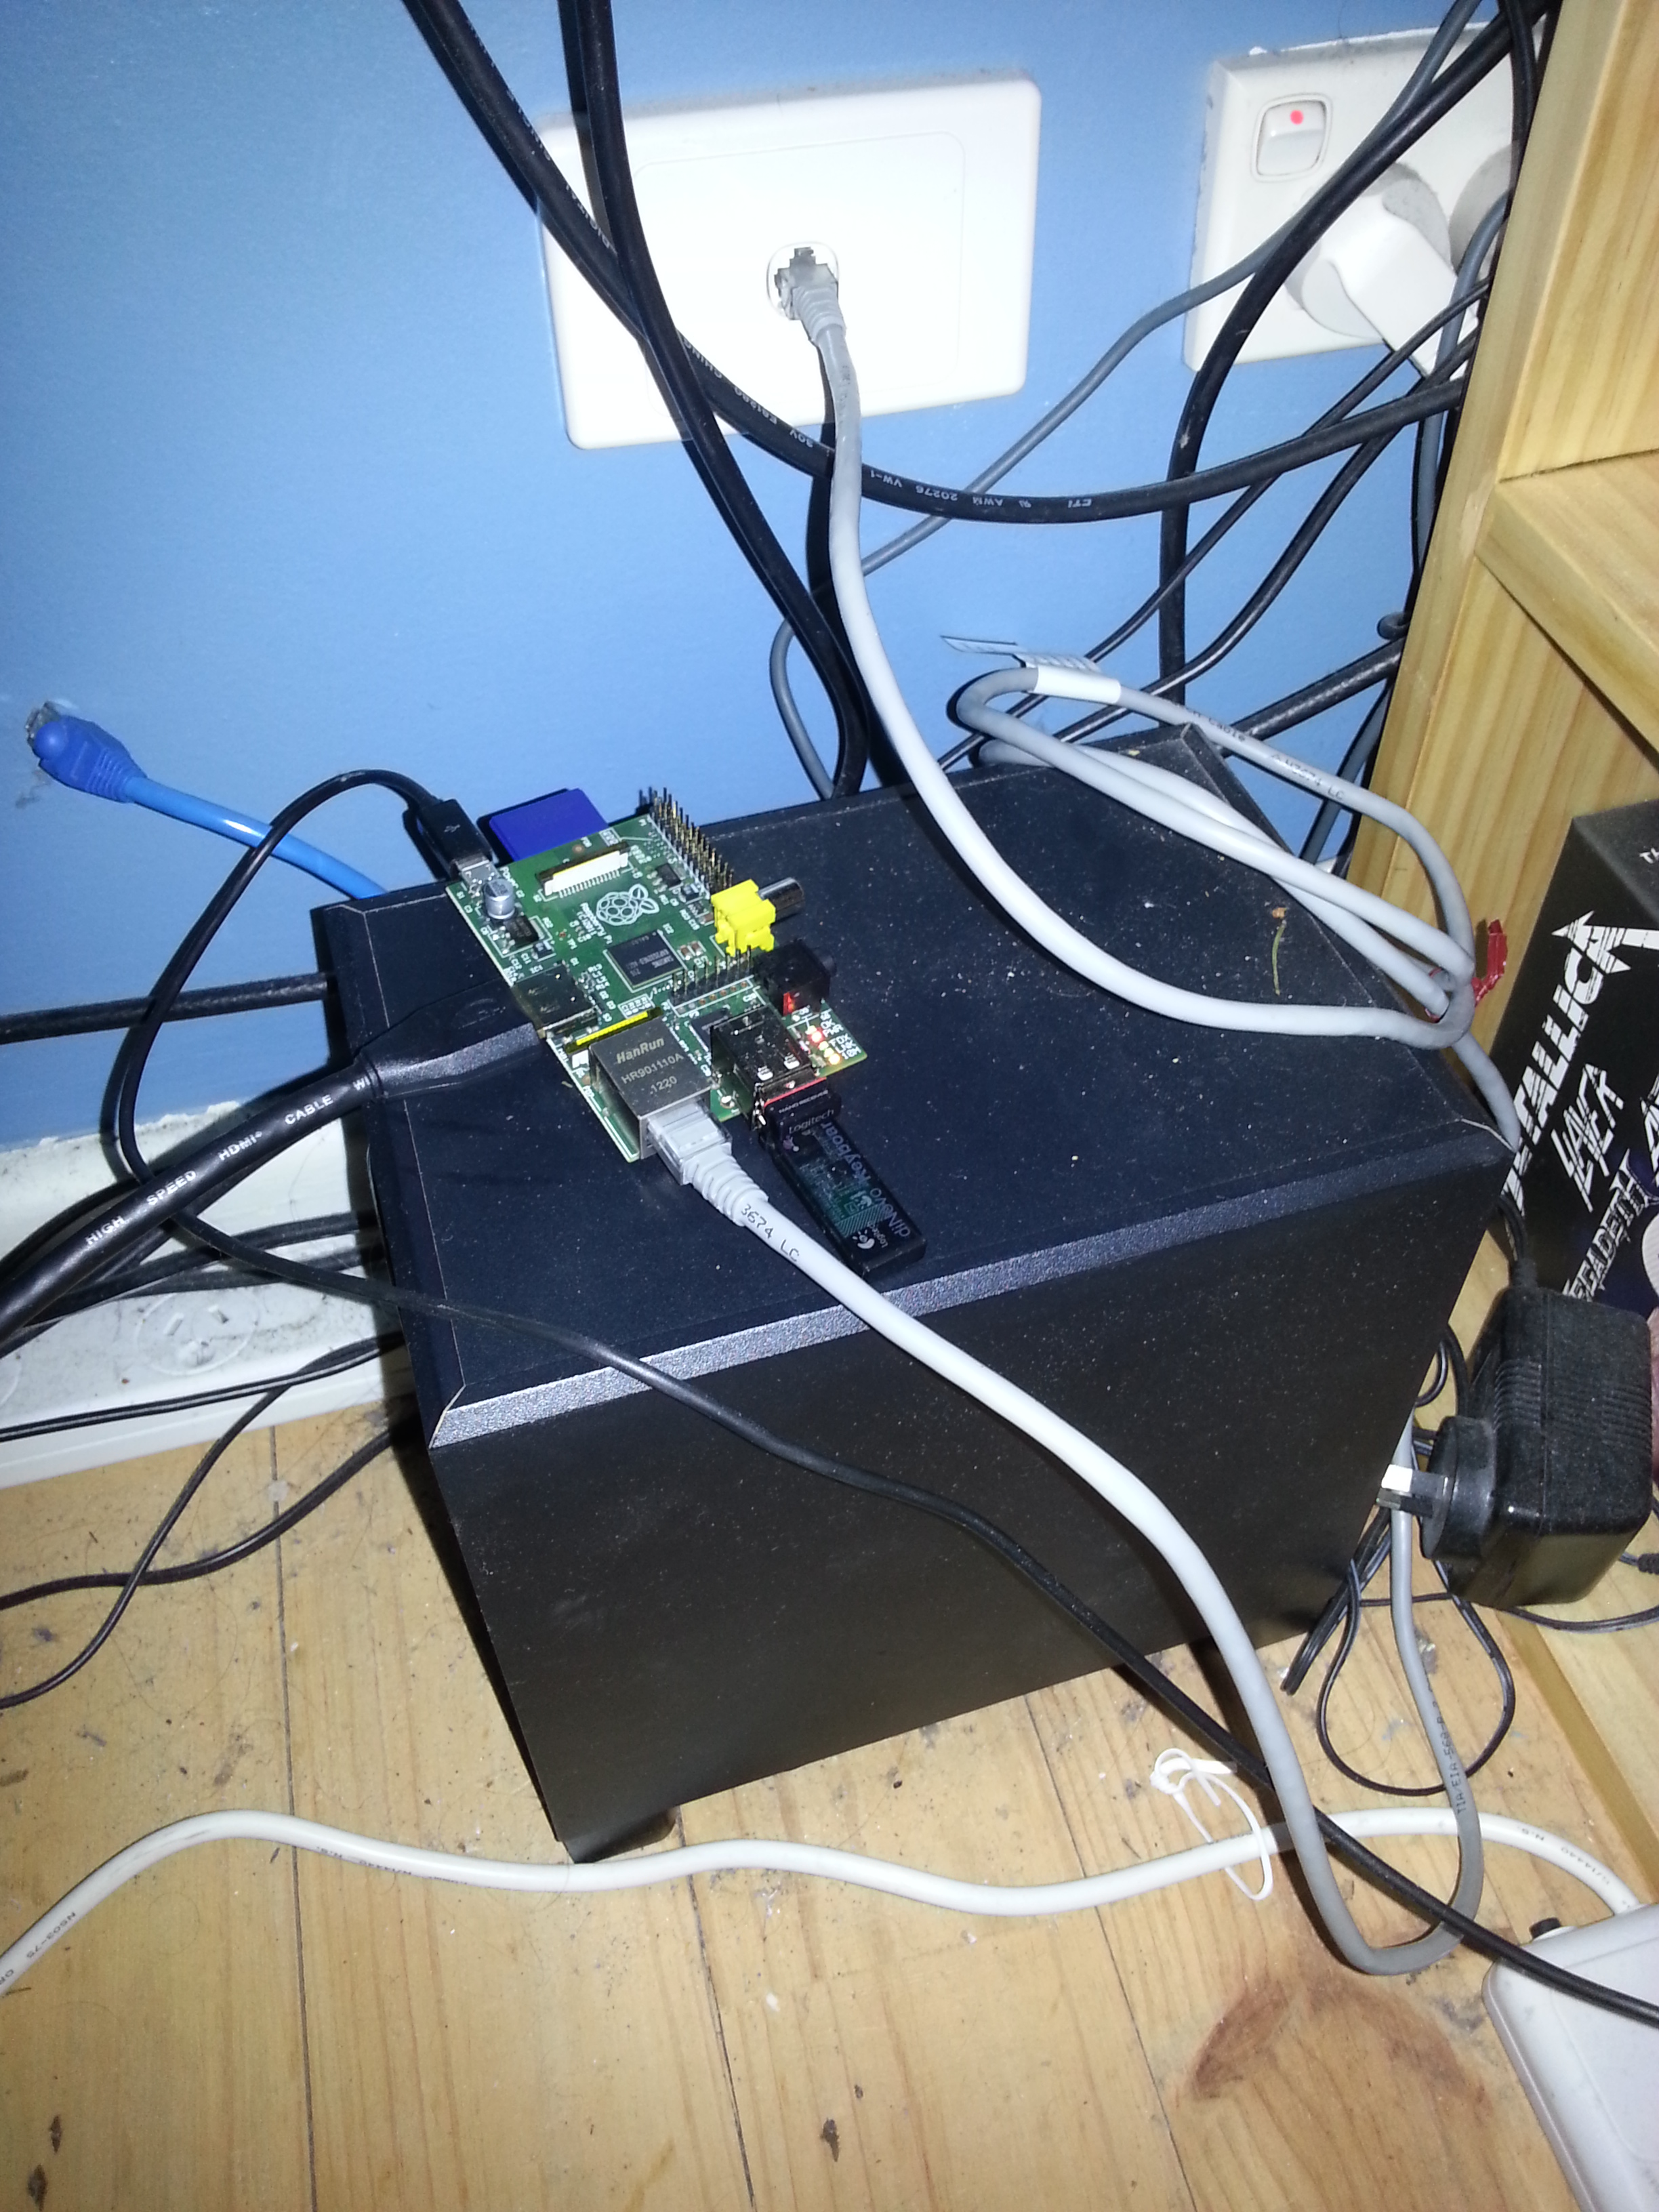
I bought a Raspberry Pi, what a gorgeous little device it is!
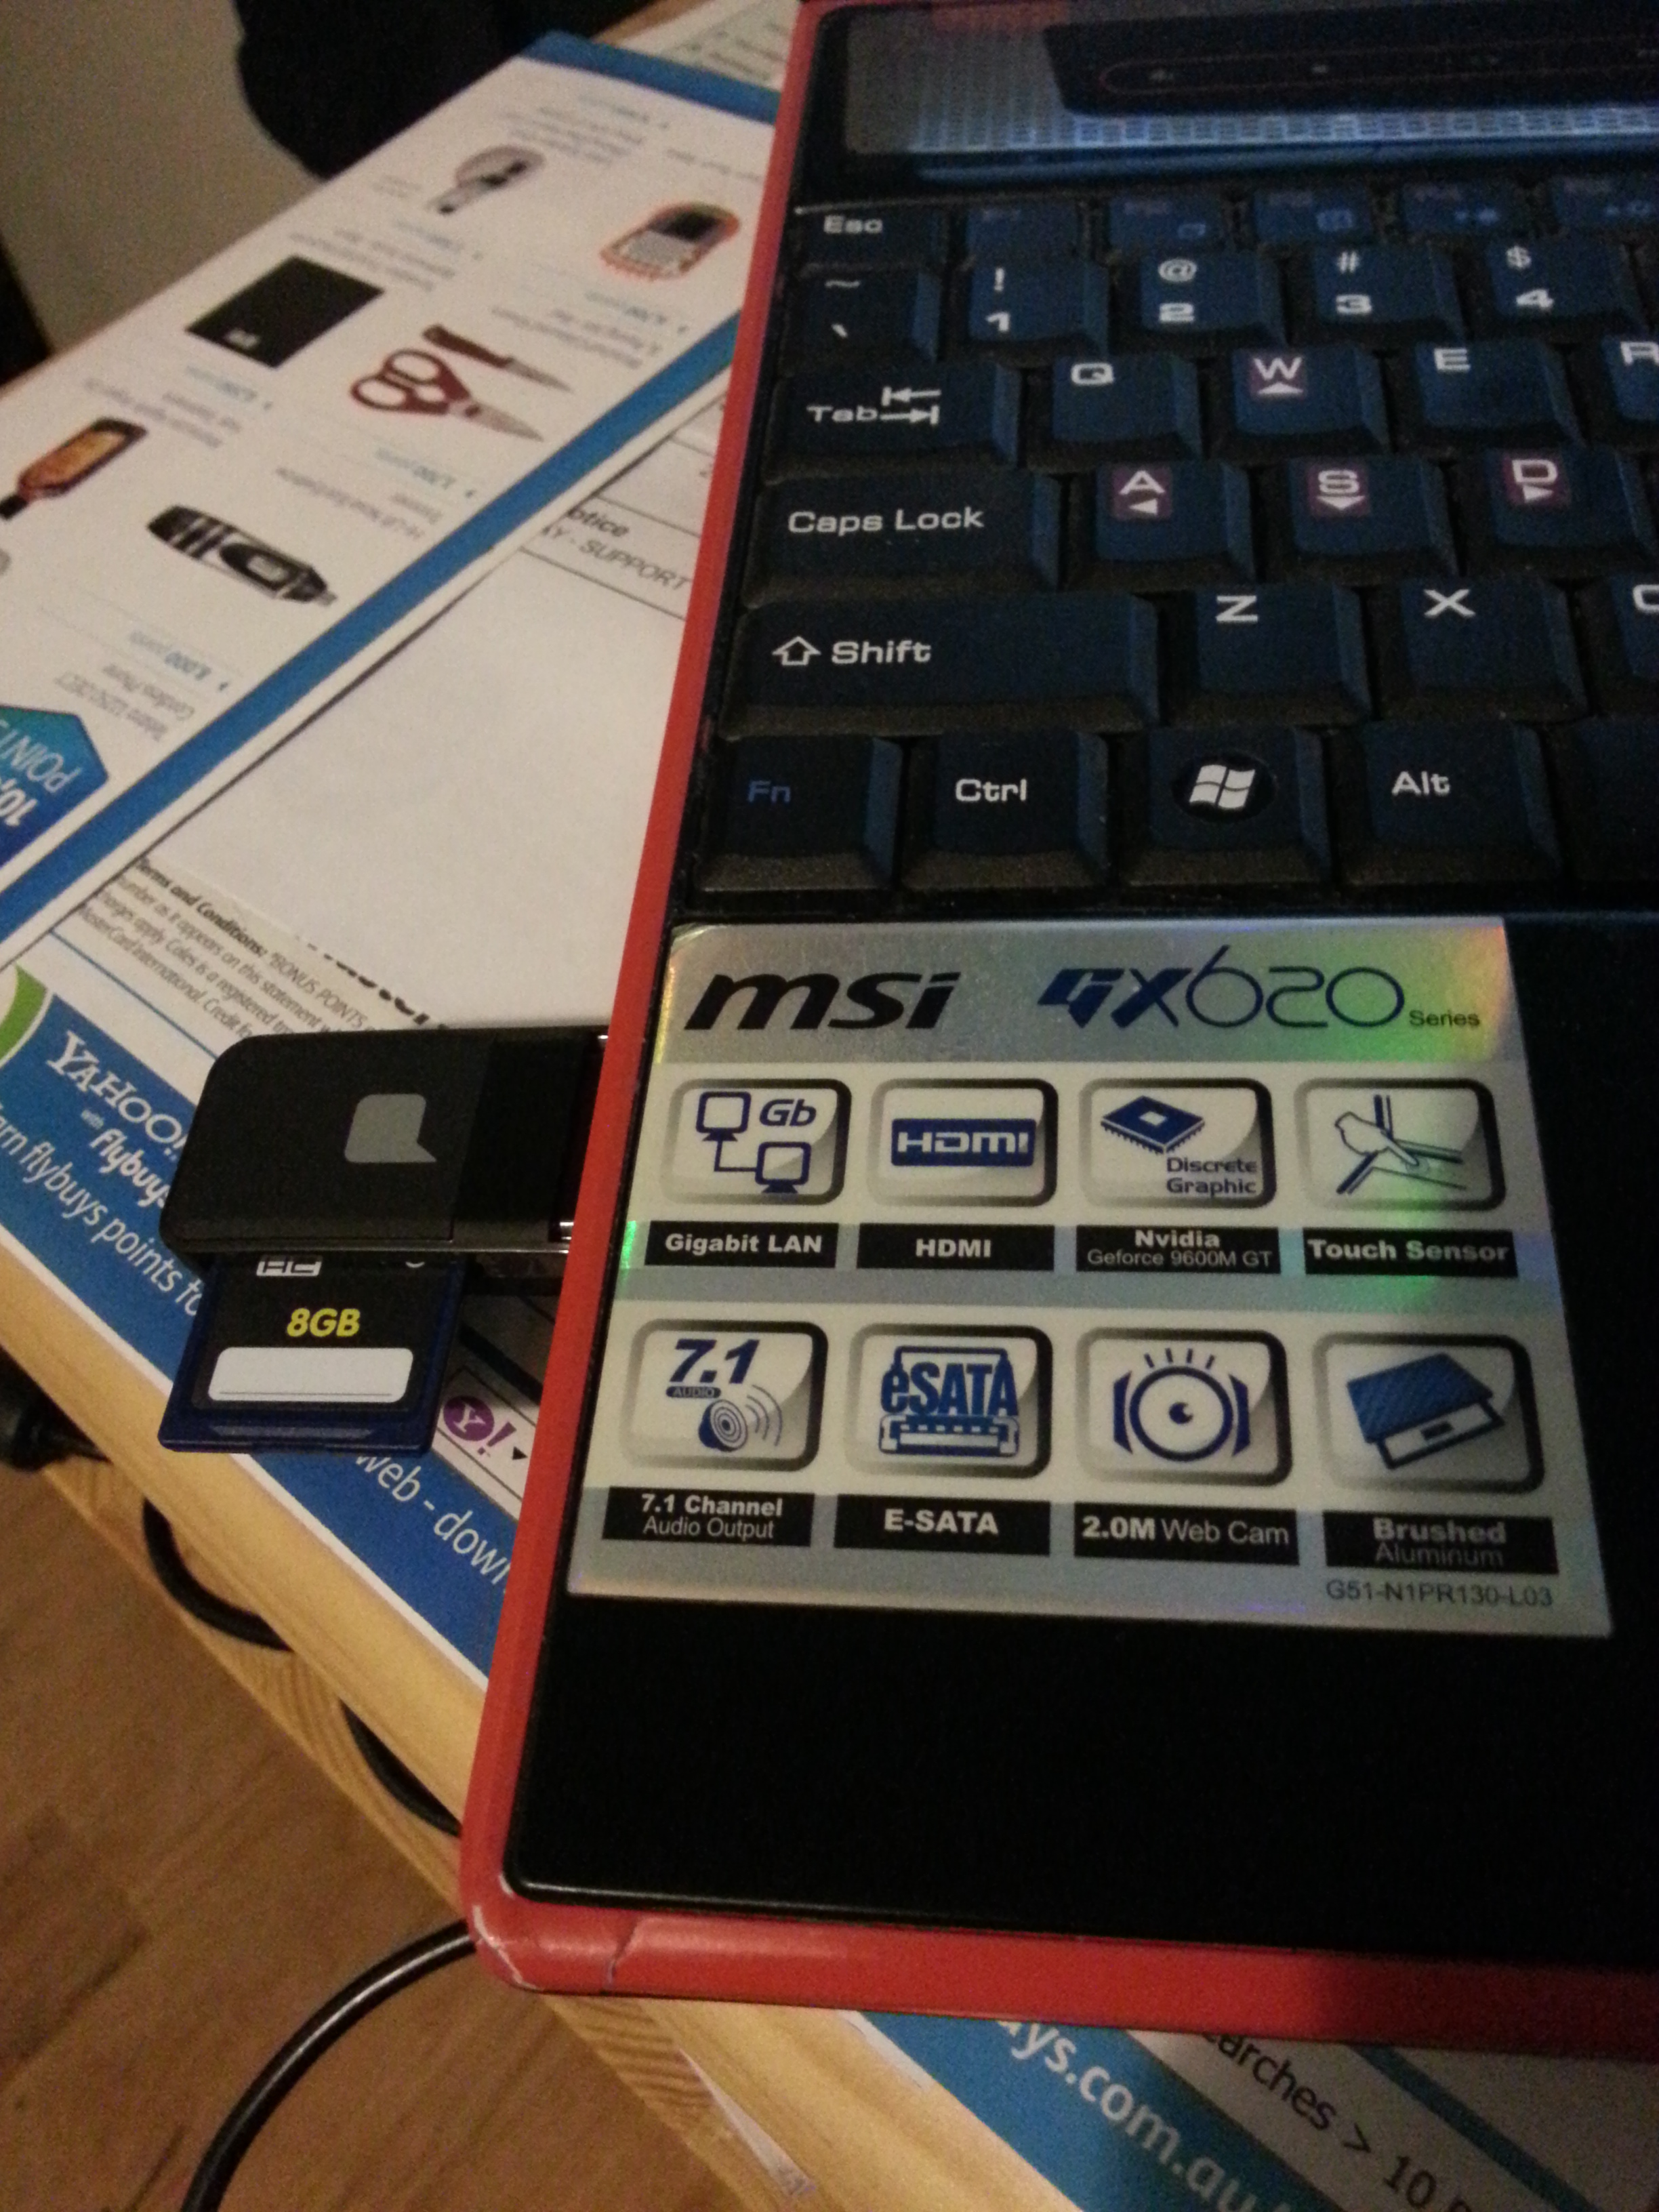
Due to some major time constraints I’ve not had time to really do anything with it (such as purchase SD card, card reader for my PC or HDMI cable so I can hook it up for starters), so I was really excited when my beautiful wife presented me with 2 x SD Cards and a card reader for my PC on my birthday. My parent’s in law were very generous and gave me a wad of cash to complete the set so off I went and grabbed the required HDMI Cable with enough left over to buy a little case for the beast on ebay.
Great, it’s hooked up… Now what?
For anyone venturing down this path, the best place to start is certainly the Raspberry Pi Website. There’s a bunch of useful resources there including
- Quick Start Guide
- Downloads Area – Including some of the most common images for your new toy
- Merchandise Store – Profits go to keeping the project alive
- Forums
- A Wiki – If you’re new to Linux some of this may be over your head
I decided to play with a few images to see which I liked best, starting with their “recommended” image which is Raspbian “wheezy” which is in the above mentioned downloads area (a skinned version of Debian Squeeze for anyone that’s wondering where the name came from) and Fedora 14 which is probably going to become my daily river O.S. for the little beast.
How do you build an image?
In essence, you don’t have to! People far smarter than I, have already done it for you. There’s probably at least a dozen good images out there to play with and learn the ropes with Linux without having to know anything of the core operating system; ie. it’s a bootable image, you don’t need to build the installation yourself. Installing it to your SD card is nearly as easy as downloading it and this is where the SD Card reader my wife gave me comes into play!
- Pick and image you’d like to play with
- Download it
- Unzip the image
- Grab a copy of Image Write for Windows: HERE
- Run Image Writer
- Find the image you have just unzipped and select it
- Select the drive letter of your SD Card that should be plugged into your computer during this process
- Select “write”
At this time you should be ready to plug your SD card into your Raspberry Pi and turn it on.
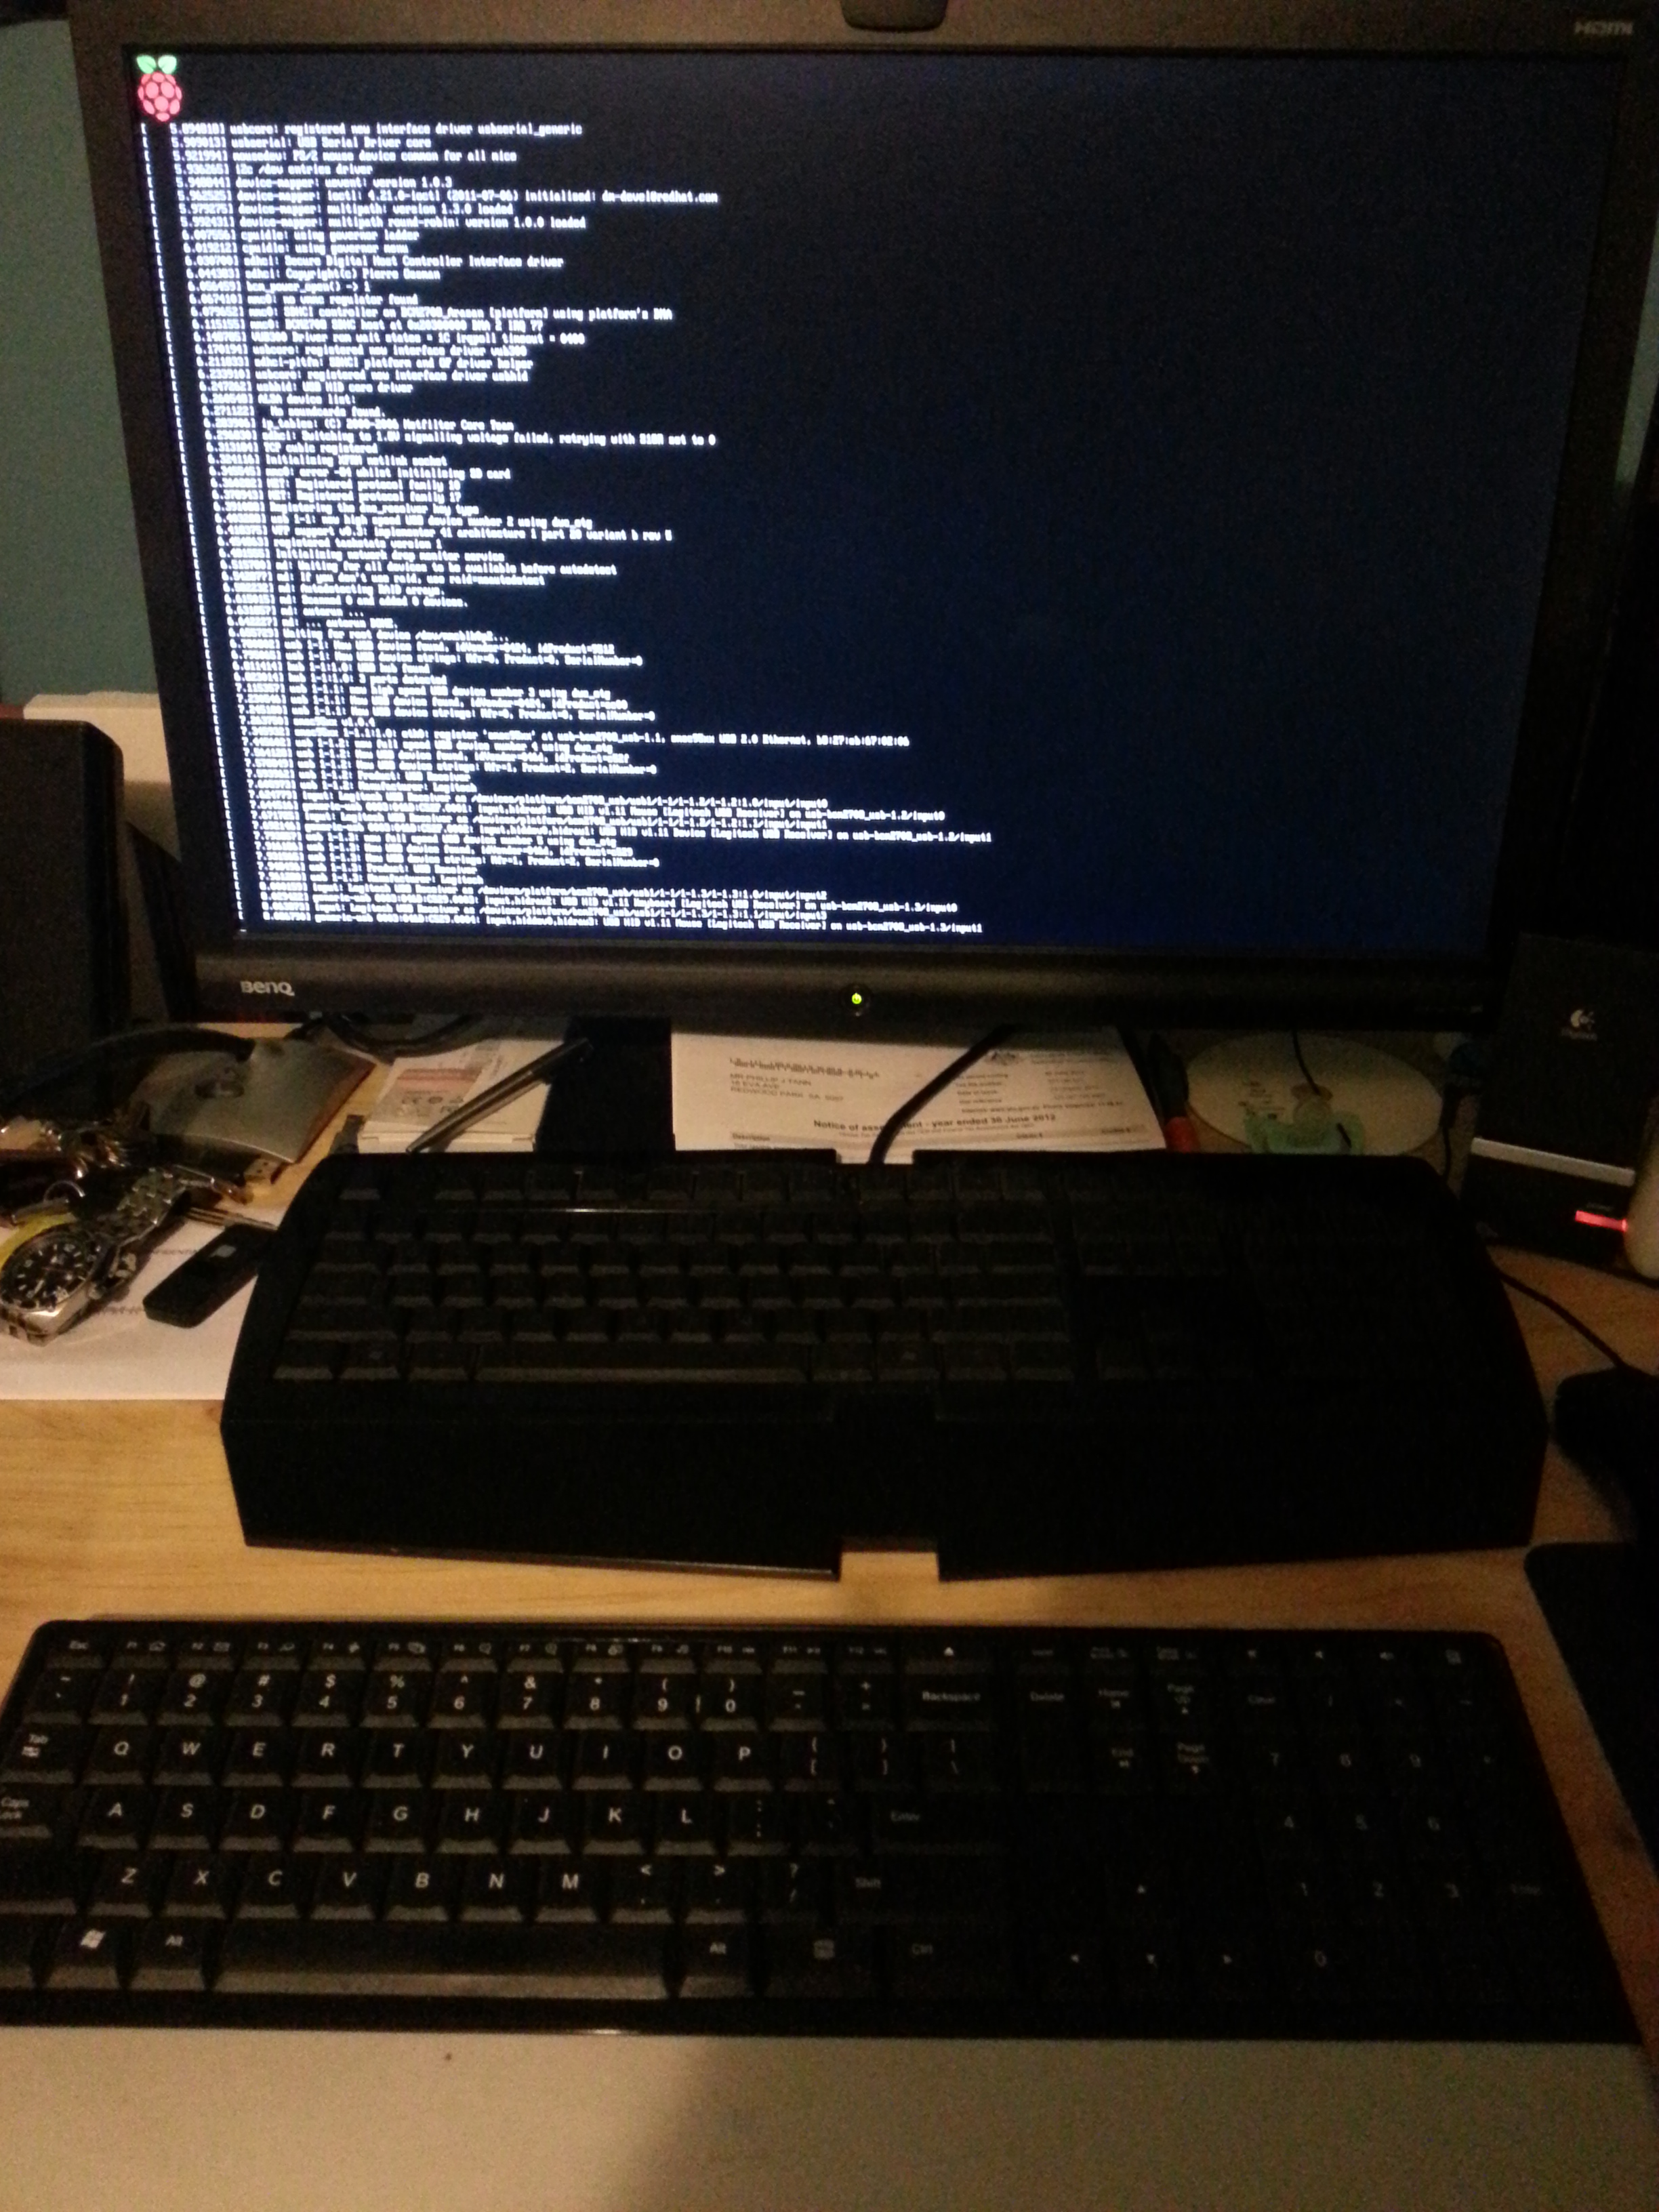
All being well, you should be greeted after a few seconds with a screen that looks something like this one.
What’s the point?
There’s a couple of reasons for this, the main one being: Because I can!
What sort of geek would I be if I didn’t want to play with the latest toys, really?
The second being that I’ve been tinkering with Linux for a number of years now, learning all the while and thanks to some very patient, talented and smart friends I’ve got to a point where I can usually achieve what I have set out to do in multiple distro’s of Linux. I’m still weighing up which is my favourite, either Ubuntu or Fedora for desktop and Centos for Server applications.
Finally there’s the power/noise factor, it’s no secret to anyone that we’re getting royally screwed on power prices in South Australia and anything you can do to minimise power use (therefor cost) without sacrificing your quality of life and what you love doing is surely a good thing. So far it’s a great toy, I’m really enjoying playing with it. It takes me back a few years to when I first discovered the joys of tinkering with computers and learning what makes them tick. A very happy $50 spent and would happily recommend to others to do the same.


